In Droplet, form submissions are routed through an automated workflow system, where each submission gets assigned to one person at a time. This happens whenever someone clicks the “Submit” or “Reject” buttons on the form.
You can define these workflow steps and assign them to team members right here in the Workflow section of the Form Builder.
When you first open the Workflow Editor, you’ll see the most basic workflow possible: it starts at “Start” and moves directly to “Completed.”

Outline Your Workflow Steps
You can add new workflow steps by clicking the blue approve or red reject icons on a step card. Each step card is connected to the next one through the button someone clicks on the form to direct the submission down that pathway. A path from the checkmark shows how the submission will move when using the Submit button, and a path from the circle with a line through it shows how the submission will move when using the Reject button.

You can re-route your workflow by clicking on a connection line and moving it to a different card. This way, your workflow can become as complex as you need it to fit the process you want your form to follow.
Tips for a Clearer Workflow
- Rename Steps: Give each step a clear name to outline your workflow better.
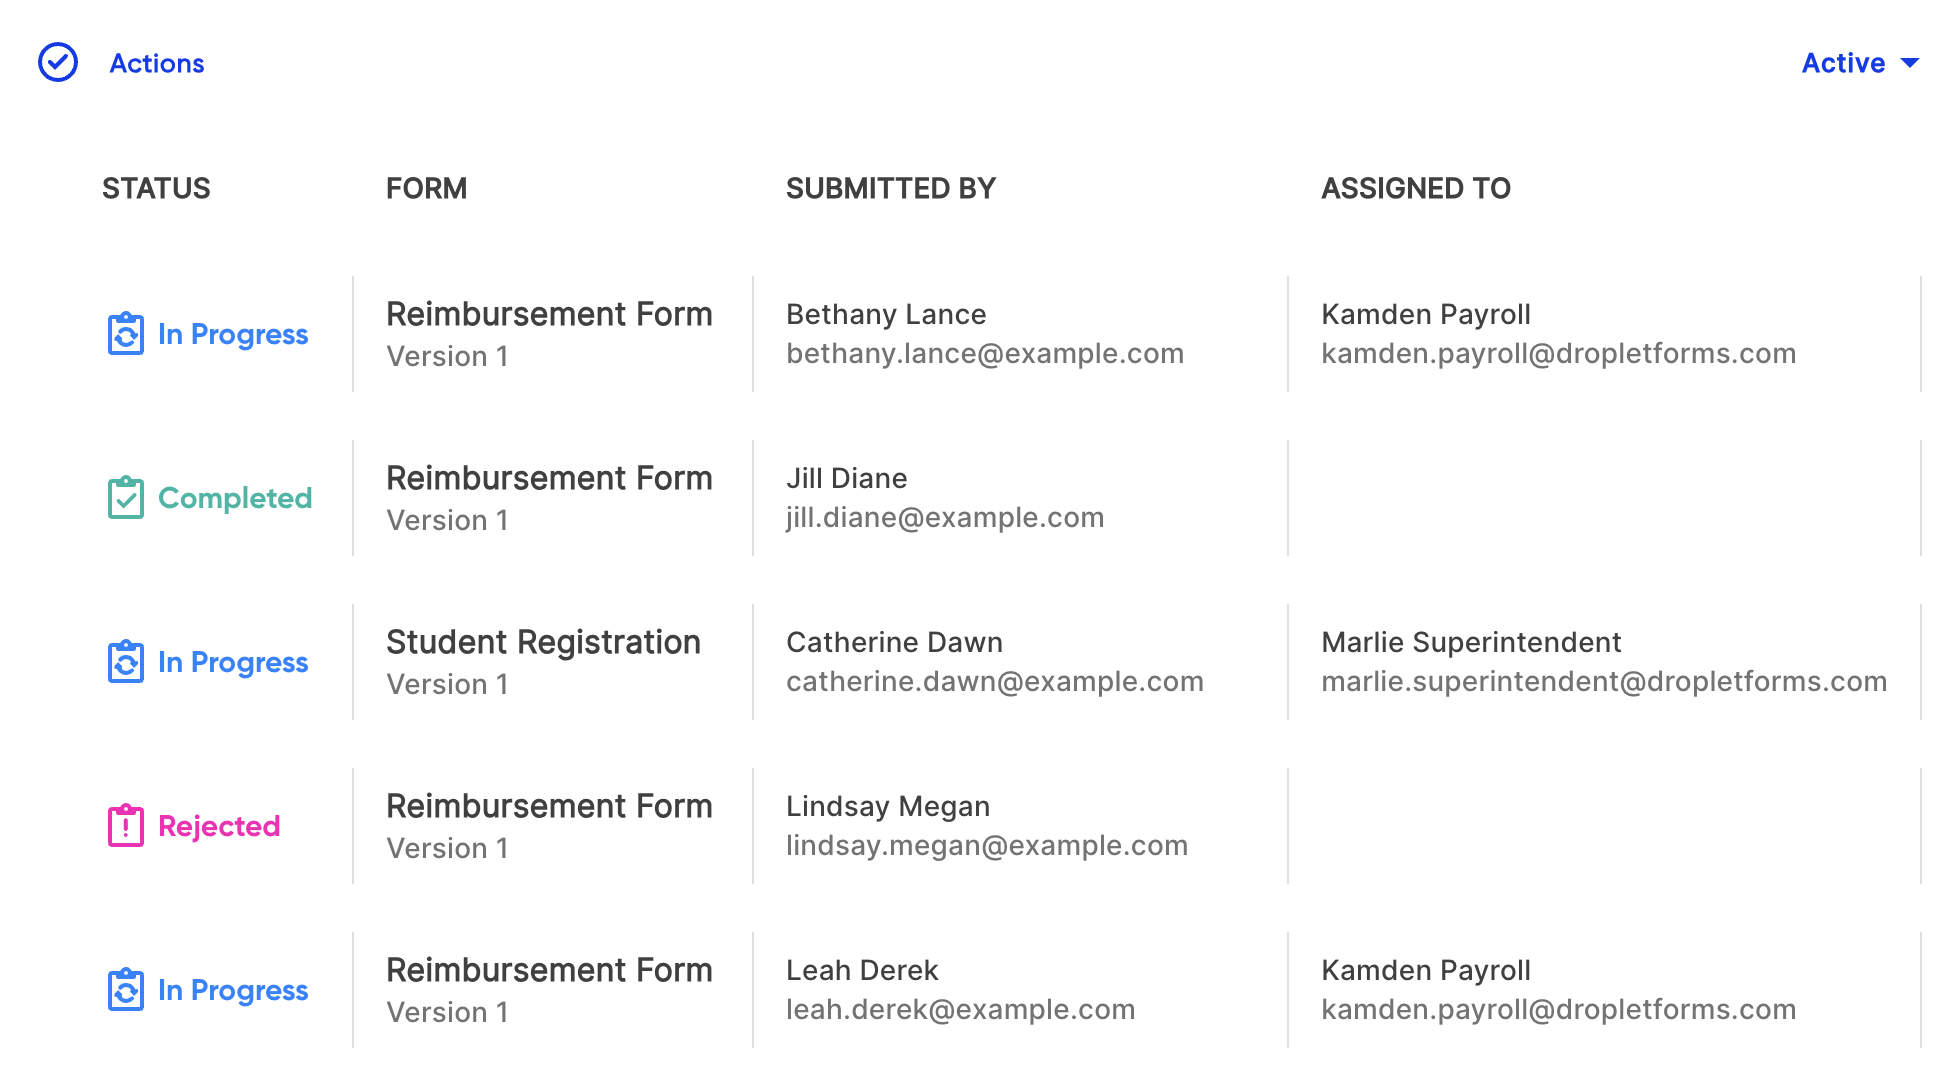
- Change Step Status: Adjust the status of each step to In Progress, Completed, or Rejected as needed. The status will indicate how the submission appears in the Droplet platform at that step.
Add Workflow Assignees to the Step Card
When a new step is assigned, the assignee will receive an email notification letting them know they have a new submission to review.
Methods for Assigning Workflow Steps
There are a few methods that you can use to assign a workflow step to someone. The following descriptions align with the pink letters in the nearby diagram.

This is often the case for Completed and Rejected steps. While most steps will have an assignee to keep the workflow moving, it’s not required.
This assigns the submission to the person who initiated it. It’s helpful to assign the Start step to the Submitter if you have a corrections workflow, so they can make needed changes and re-advance the submission.
If a step should assign to someone different with each submission based on the data in that submission, it’s considered a dynamic assignment. These are our favorites. More on that below!
D: Static
The simplest assignment is when the submission goes to the same person each time. For example, you can use the dropdown to select Erin, the HR Manager, as the assignee for all new employee onboarding forms.
E: Select Someone Else
If your assignee does not have a Droplet account, you can still select them! Choose Select Someone Else and enter their information. Workflow assignees do not need to have Droplet accounts.
If you prefer, you can also use the steps below to update the step assignee in the Step Details panel.
Workflow Step Details Panel

Add Step Assignees
Steps typically have a defined assignee, so when the submission reaches that step, Droplet automatically sends an assignment email to that person, allowing them to take action on the submission. Adding step assignees keeps your submissions moving smoothly without needing to manually assign folks.
Including an assignee is optional. There are situations where it might make more sense not to have an assignee. For instance, if a workflow step has a status of Completed and there are only certain times when the submission may re-enter an In Progress status and continue through another workflow. In this case, someone can assign the submission to themselves in the Droplet platform and move it ahead as needed.
Just like from the step card, you can choose your step assignee from the dropdown, or you can use a dynamic assignment to assign the step based on information from the submission.
Assign Someone Dynamically
If your workflow assignment is dynamic, meaning it changes based on the data in each form submission, you can select “Dynamic” from the workflow and enter an expression to determine the assignment.
Dynamic assignments are the real secret sauce of Droplet workflows, as they eliminate the need to manually determine who should review a submission. For example, if a school’s principal needs to review submissions from their own school, you can add a School dropdown menu to your form. This will allow you to auto-pair the school with the relevant principal as a workflow assignee. This setup will likely reference computed fields in your form layout or one or more datasets.
Add Step Run Logic
Sometimes a submission needs to travel from one step to several other steps based on the information in the submission. This is called conditional routing. An alternative workflow setup allows a step to be skipped if certain conditions are met when the submission reaches that step. This is useful, for example, if a particular administrator only needs to approve a form for a specific budget code.
You can define the conditions for running a step using an expression (formula). If the formula evaluates to true, Droplet will ensure the submission goes to this workflow step for review and action. If it evaluates to false, the step will be skipped.

Create Conditional Workflow Routing
Often, complex forms need to follow different pathways based on the data in the submission. You can define this logic by adding a list of step transitions and writing an expression. Conditional workflow transitions can be defined in both the Submit and Reject pathways.
The list evaluates in order from top to bottom, routing the submission to the step of the first true expression.
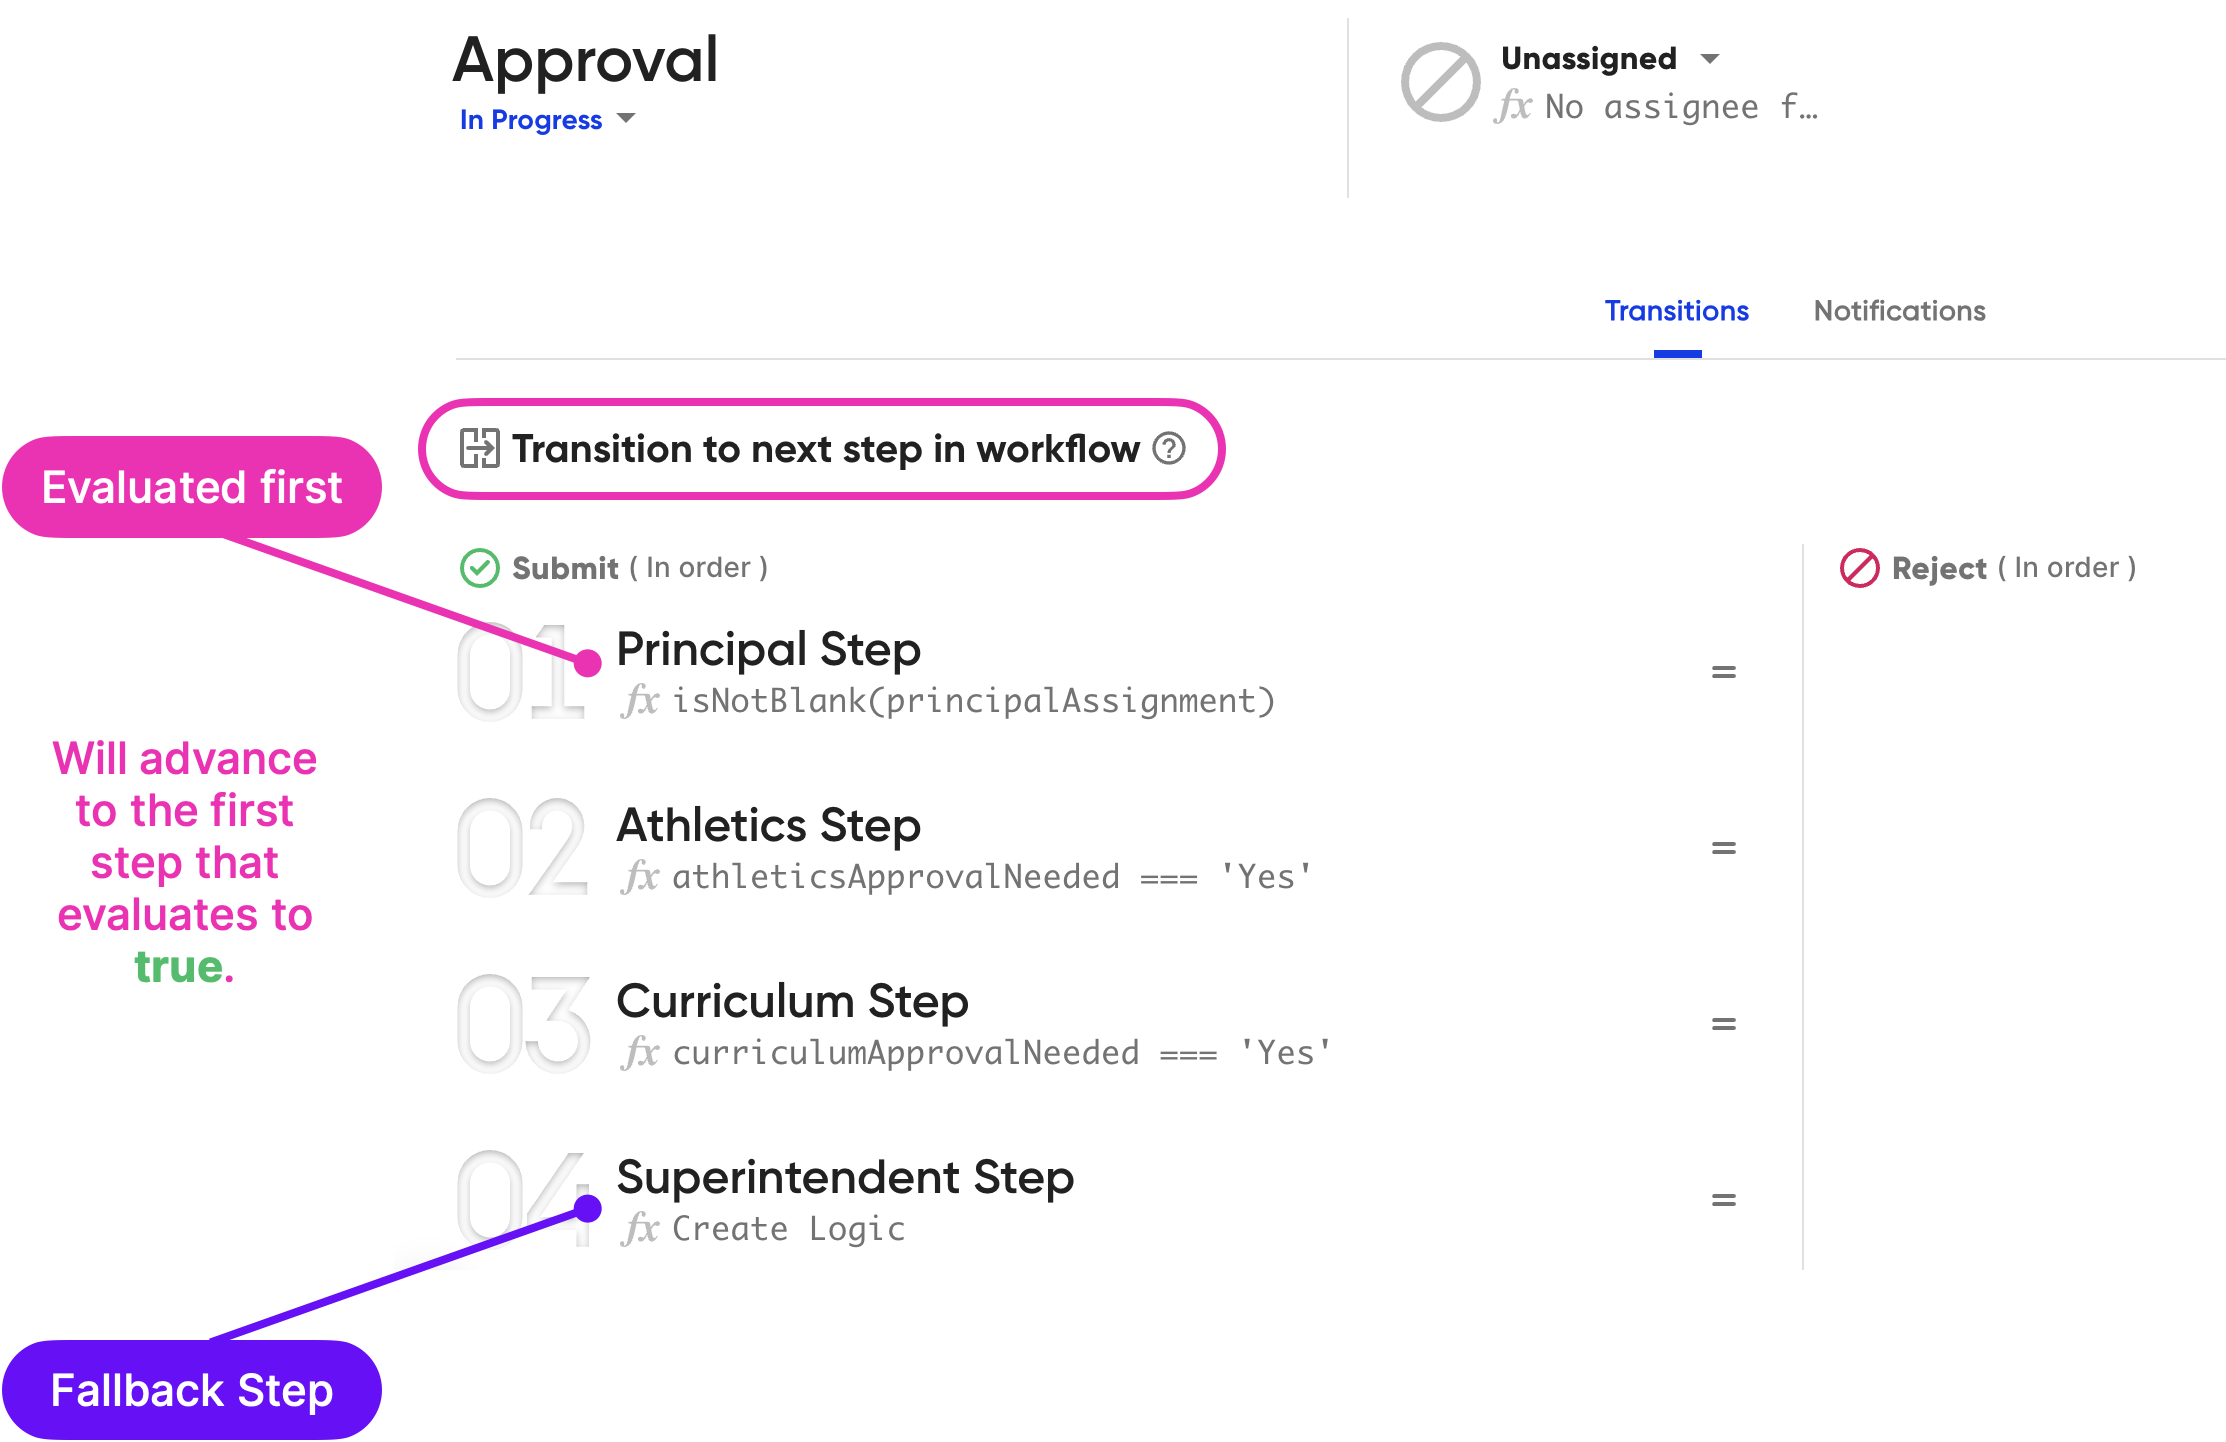
The image above shows a list of possible next steps in the Submit pathway of this form. When someone presses Submit from this step, the submission will check if the Computed component with the ID “principalAssignment” is true. If it is, the submission will go to the Principal Signature Step. If it is false, the submission will check the expression for the next possible step and send the submission there if that expression is true. If all expressions are false, the submission will go to the last step, which has no conditions. We call this a fallback step. ?
It's best practice to have a fallback step at the end of your list that doesn't have conditions attached. This way the submission will always have a pathway to follow when all conditions are false. If there is no fallback and all conditions are false, the submission will not be able to move forward in its workflow and the user will receive an error when they try to submit at that step.
Was this article helpful?
That’s Great!
Thank you for your feedback
Sorry! We couldn't be helpful
Thank you for your feedback
Feedback sent
We appreciate your effort and will try to fix the article